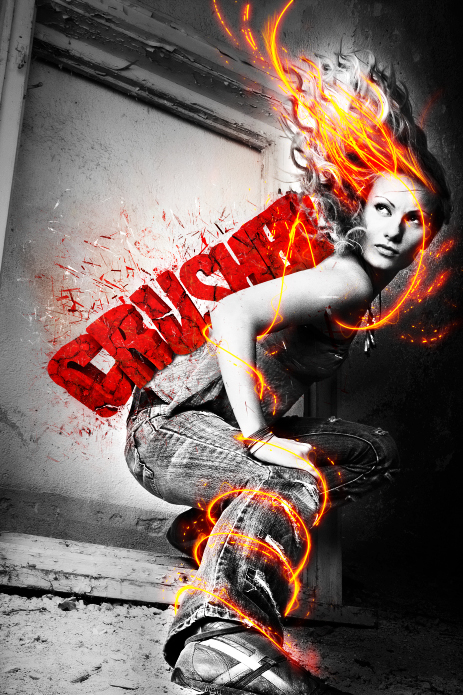
Press "P" on the keyboard to select the pen tool, Get a basic idea of where the fire is going. Keep in mind dimension and action. Swirls do wonders!
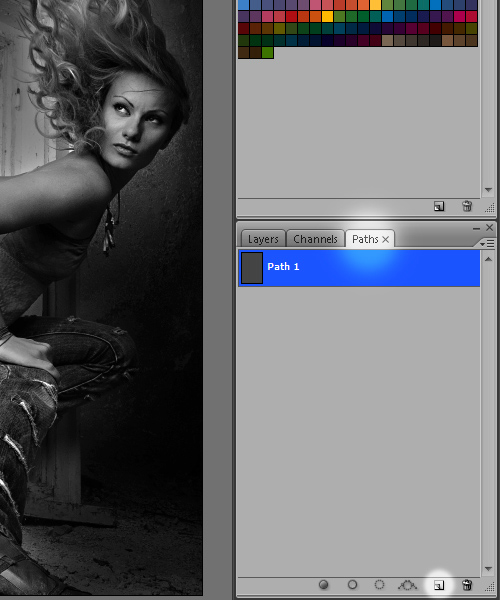
3. Click to start your path.
Click your next point, hold and drag to create a bezier spline path, which is necessary to create flowing lines.
Continue doing this, following the idea of where you want the fire to go.
Don't worry about getting it right the first time as you can change the spline at any time… another little tip - if you press and hold ctrl while using the pen tool you can temporarily access the direct selection tool which will allow you to edit the spline (a big time saver)
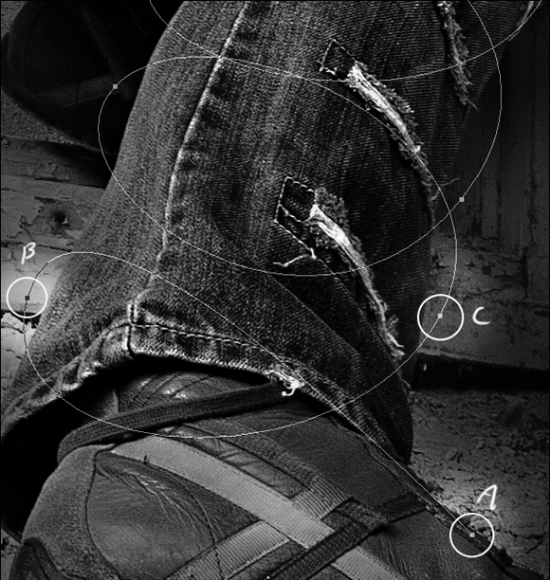
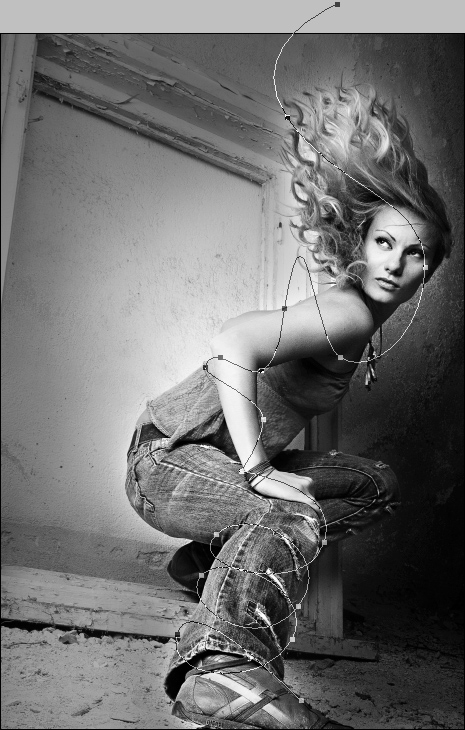
Make a new layer and name it Fire. Go back to the paths tab and select stroke path with brush.
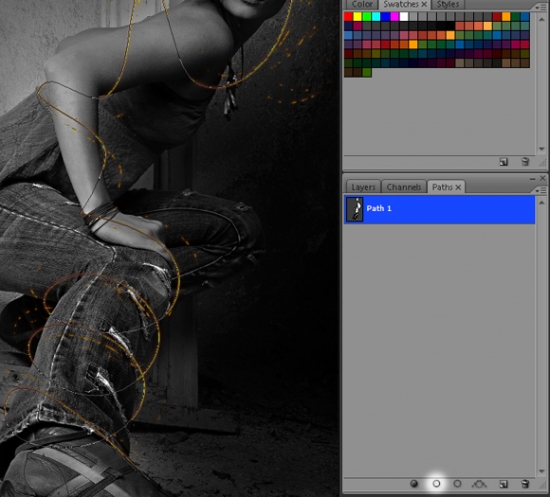
On mine you'll see splatters and flairs that weren't part of the original path. Those give the fire line the illusion that it is moving, and were accomplished by simply grabbing the clone stamp tool - using a spatter brush and cloning/stamping areas of the path at random.
7. Mask/erase the parts of the path that are behind the legs/arms or whatever it is your paths follows.
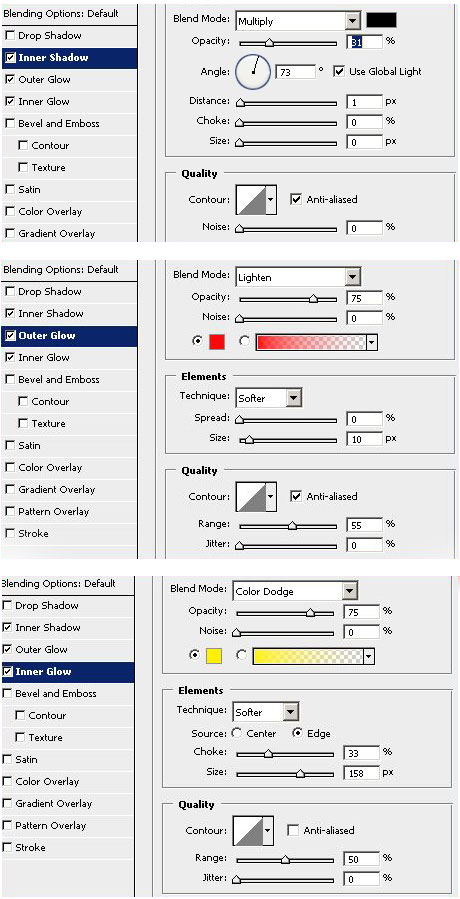
8. Right click on the Fire layer and select blending options, and use these options/values.
Feel free to play with the settings (that's how i discovered this technique).
You might end up with something better!
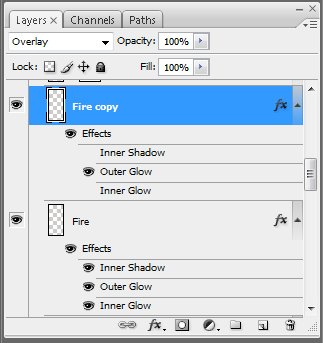
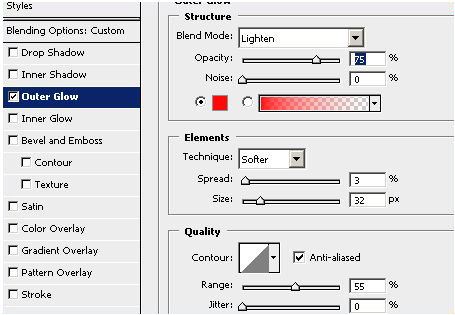
Click the eye next to inner shadow and inner glow on the duplicate layer to deactivate them.
Conclusion
Spend a little time, and you can make something like what i have below…
Play with the opacity levels, and play with the blending modes - particularly Overlay.
Good luck!
0 komentar:
Posting Komentar